10. For Developers
In this section, we provide some guidance to help developers contributing to this project.
This code is developed using Git to facilitate collaboration between multiple contributors.
Using the GitHub page, one can propose updates to the code, tutorials, or the wiki directly from the webpage.
Modify the function in the Alpaga directory to modify the code, or the .rst files in Wiki_raw for the the online wiki (the page you are currently reading).
However, to actually modify the package (alpaga.tar.gz) or the online wiki, compilation must be performed.
If the GitHub workflow succeeds, you don’t need to do anything — the package and wiki will be updated automatically when you push to the master branch thanks to .github/workflows/build.yml.
If the workflow fails, you will need to perform these steps locally until the issue is fixed (see below).
You can also run tests to ensure your version is working.
To do so, either run pytest in the tests directory, or check the output of the build.yml action on GitHub after a push.
10.1. How to: Compile a New Alpaga Version
If you want to develop new functions or modules in Alpaga, make sure to compile your code into a *.tar.gz file.
To do so, use the bash script to_create_package.sh.
For Windows users:
If you have access to a bash terminal, navigate to the folder where to_create_package.sh is located and execute it as follows:
C:\your_path_to_alpaga_folder\Alpaga> .\to_create_package.sh
If you do not have a bash terminal, you can copy the commands written inside the .sh file (open it with Notepad) and execute them directly in a command terminal.
Note that you may need to modify the script to match your version of Python.
Once completed, your code will be compiled and compressed into a *.tar.gz file.
The bash script will also perform a clean installation of the new Alpaga module in your Python environment.
10.2. How to: Compile the Online Wiki
After modifying any *.rst file or the docstring documentation of the Alpaga core files (the .py files), you must compile your changes so they appear in the HTML files.
First, install the necessary Python packages before compilation: - Sphinx - sphinxcontrib-bibtex - recommonmark
Install them manually:
python -m pip install sphinx
python -m pip install sphinxcontrib-bibtex
python -m pip install recommonmark
Or use the requirements_wiki.txt file:
python -m pip install -r requirements_wiki.txt
You can then compile your wiki with:
C:\your_path_to_alpaga_folder\Alpaga\Doc\Rst> python -m sphinx -b html Wiki_raw Documentation
Your changes should now appear in the generated HTML files in Documentation.
10.3. Scratch git guide:
In this section, we will see how we can use git to implement new functions, fix some bugs or edit wiki. Note that this version is still under development.
Installation :
First of all, we need git on our computer. Most of us are used to use Graphical User Interface (GUI) of git SCM so we are presenting this tool, but feel free to use other software if you’re used to. You can have it here :
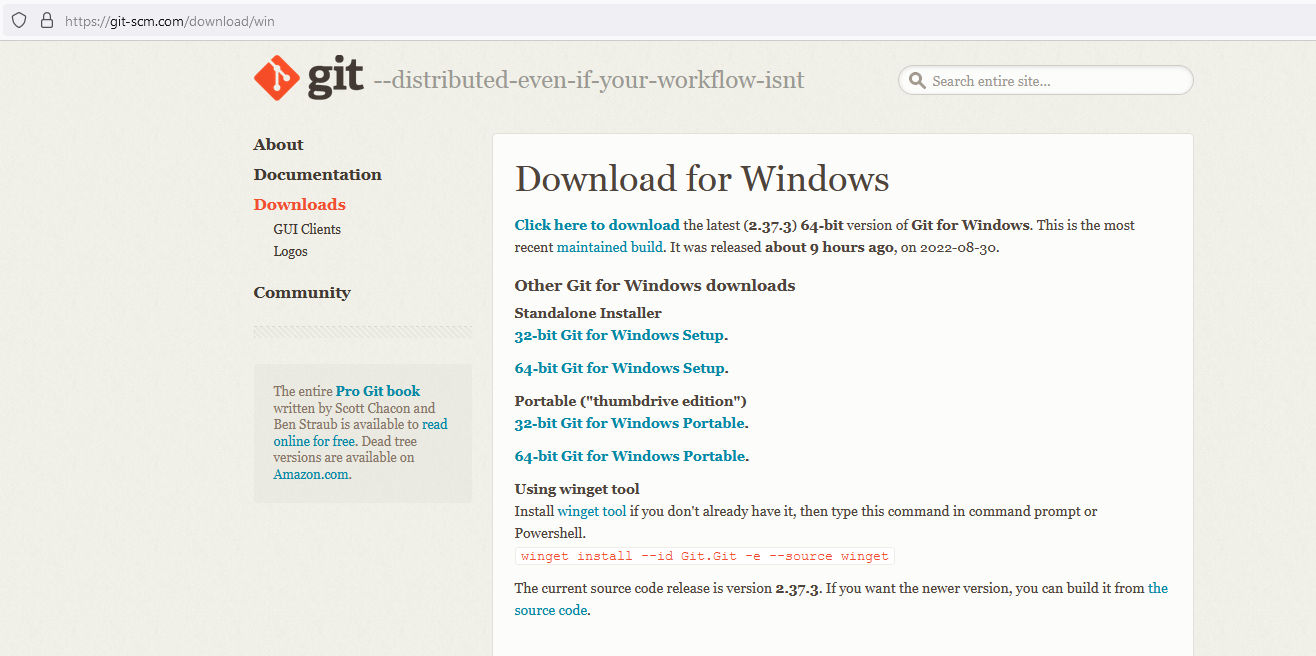
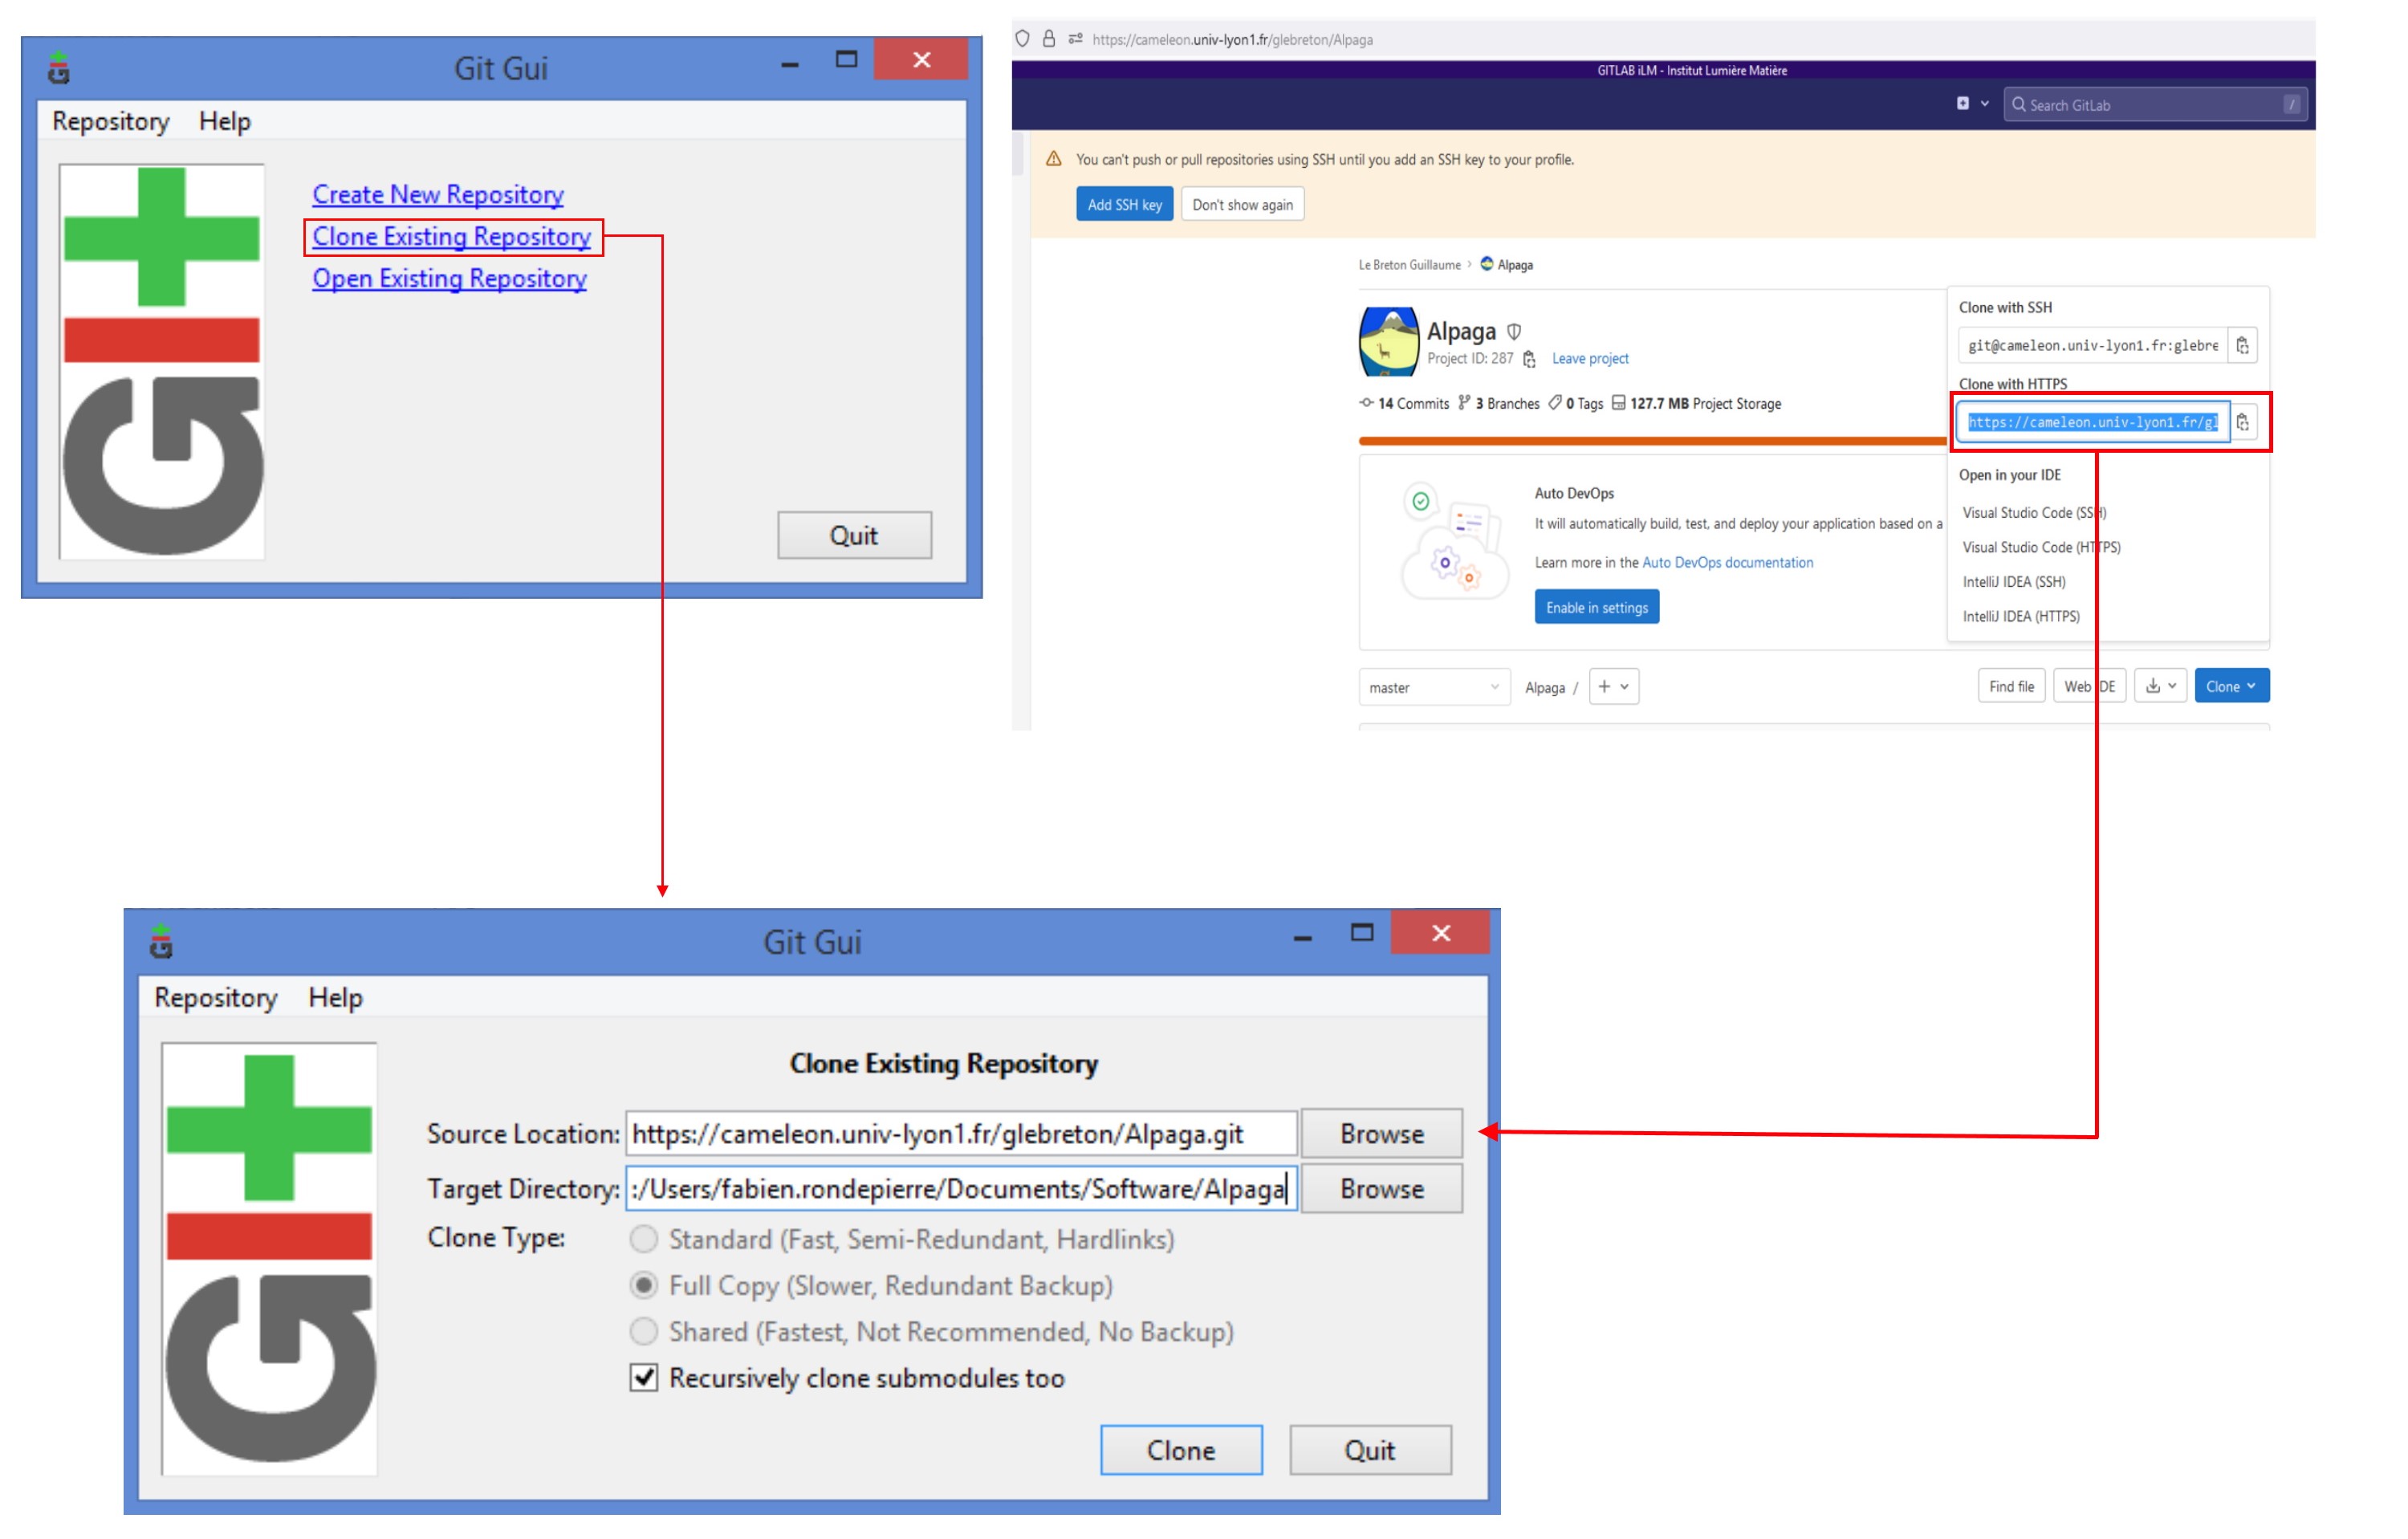
Choose your version of the soft and install it. Once it’s done, you can open git GUI. The first step is to link Alpaga gitlab with a new work repertory. To do so, click clone existing repertory and then copy the clone as shown in the picture, then choose a directory where to put your working version of Alpaga.
Now we have to import the working branch (usualy Beta branch) into the directory. To do so, click branch / create / then choose option like in the following :
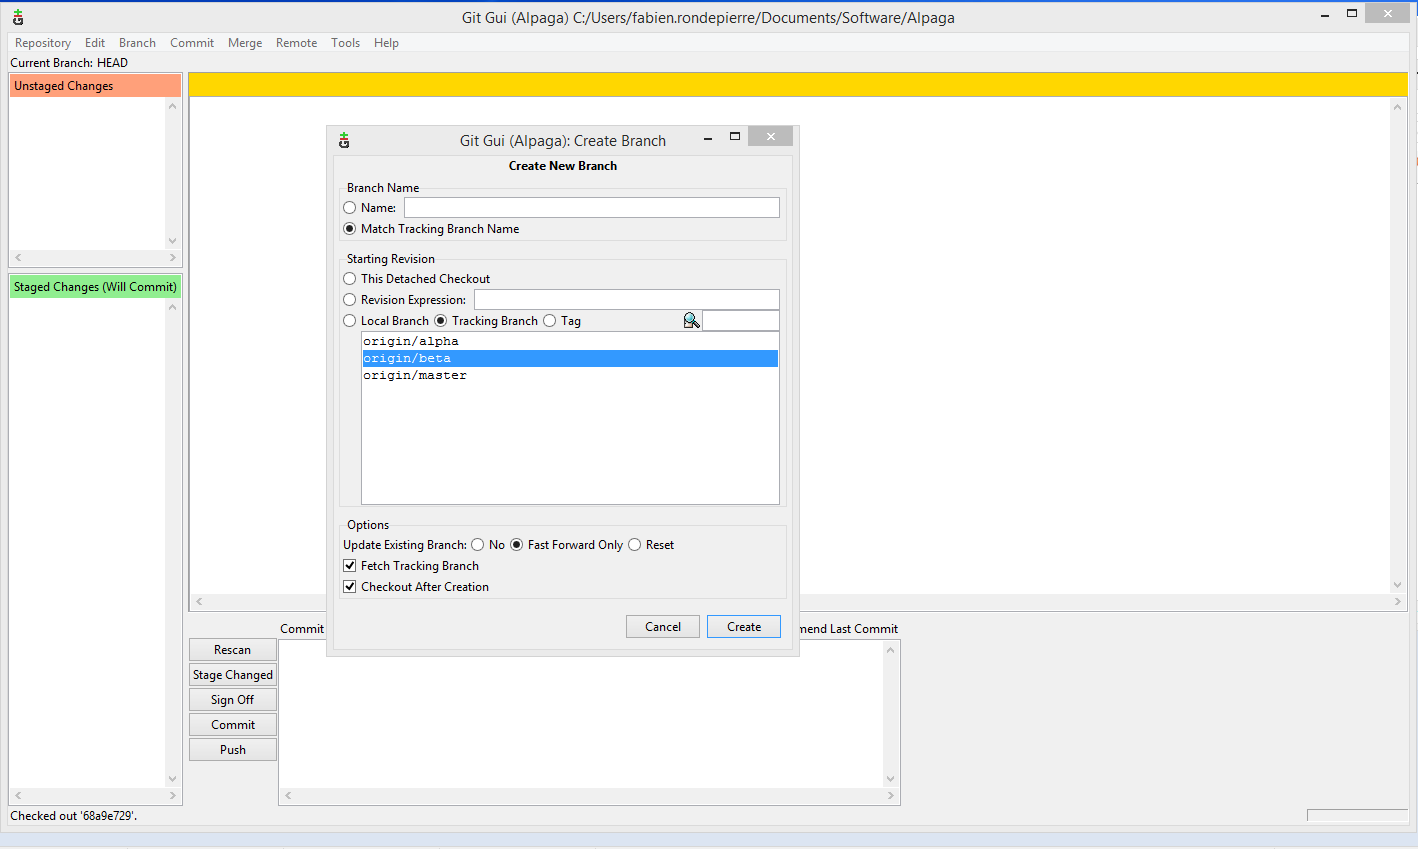
Well done, you can now contribute to this project !

How to work together : Pull, Push, Fetch, Flush and other lovely stuff
We recommand to always be sure to have the latest version of the code before doing some modification. This procedure is called Pull and is separated in two :
First called fetch where you download the latest version of the code from gitlab. This ‘download’ is not directly visible on your computer. To do so : [ Remote -> Fetch from -> origin ].
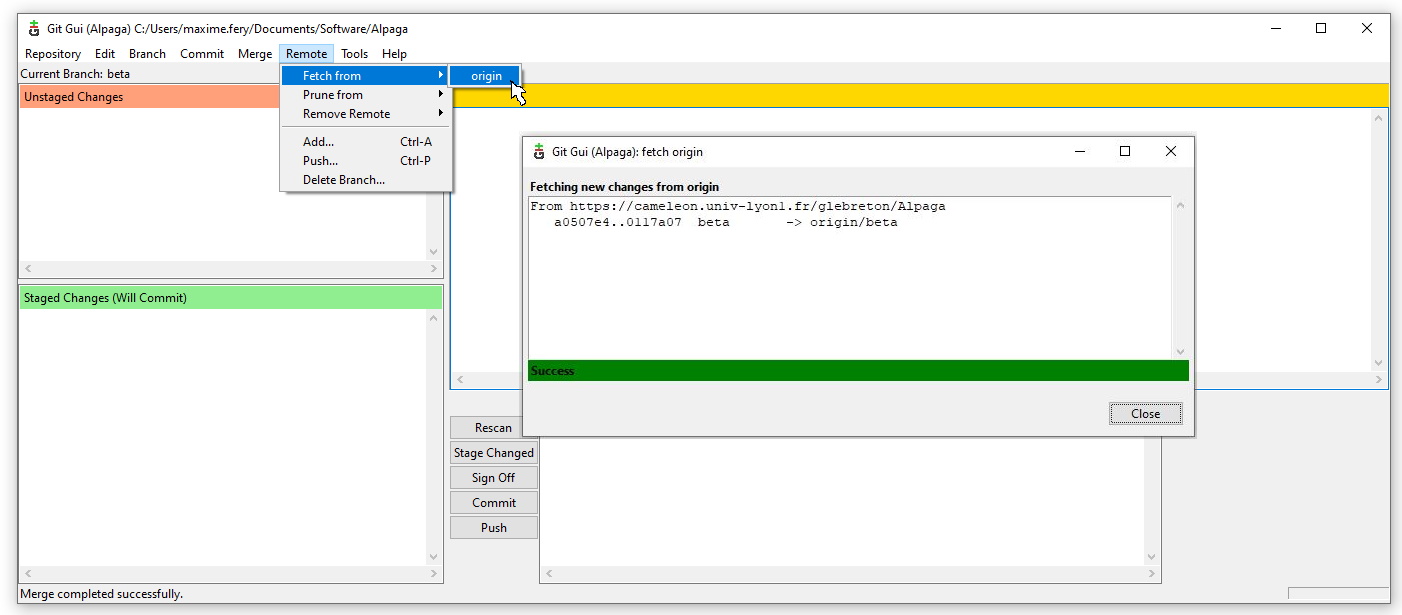
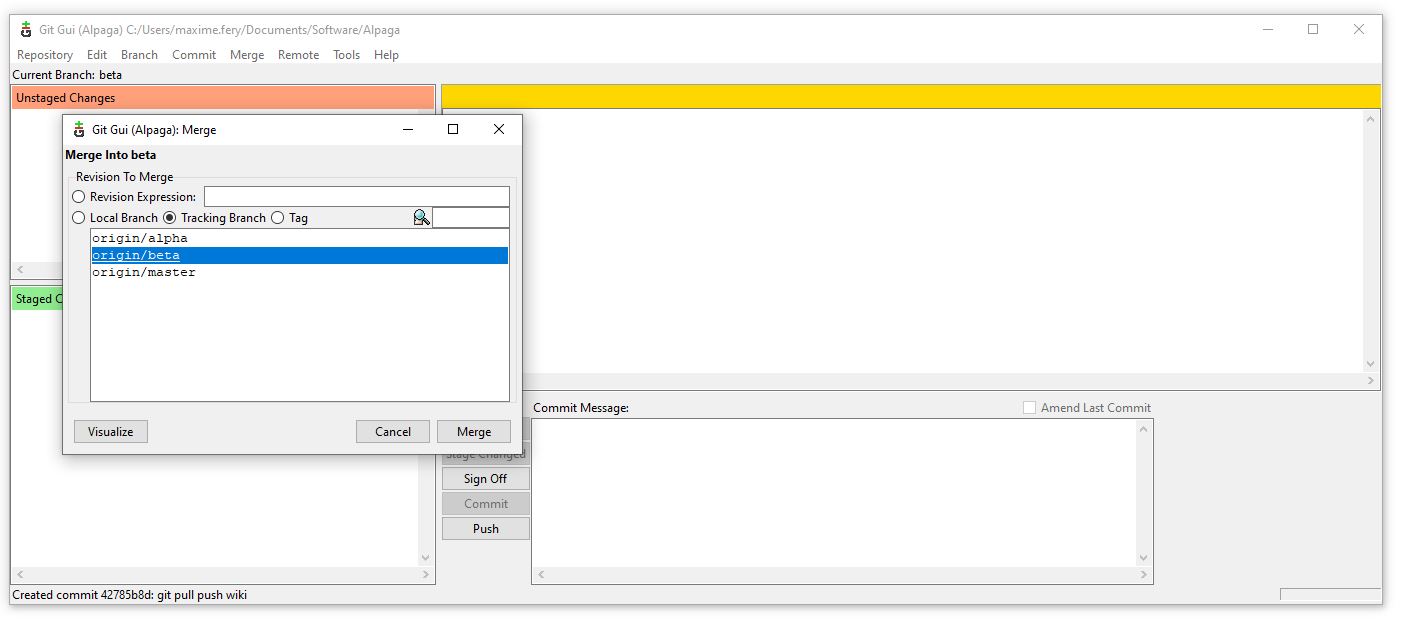
Second called merge. It will merge the version of Alpaga from gitlab with the version that you have modified. It should conserve your change and implement changes from gitlab. To do so : [ Merge -> Local merge ]. For exemple, if you want to merge the tracking branch Beta with your own Beta branch, select [ Tracking branch -> origin/beta ] .
Note
You may have some merging issue if you work on a file which is not the latest version. There will be a conflict between your version of the file and the one in gitlab. If you can’t solve this conflict, as a last resort, you should try to save the file in an other folder, redownload the file from gitlab, and then implement your change by hand. We called this process the Flush.
When you have finished your job, in order to add your contribution to the Gitlab, you have to Pull.
First of all, you will scan our change from gitlab with [ Rescan ]. You should now see all your changes in the GUI.
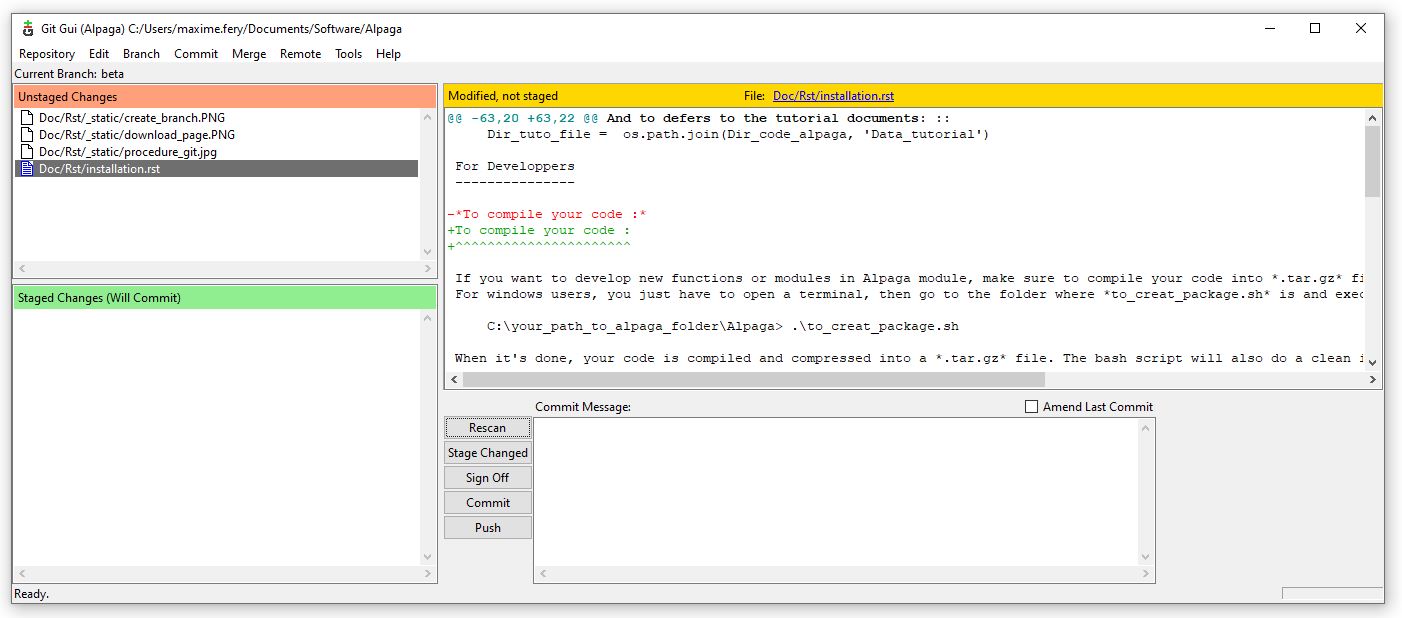
Then you have to valid those changes with [ Stage changed ].

You will commit those changes with [ Commit ]. Don’t forget to put a little message describing what is the purpose of this commit.
Finaly, you can push your commits on gitlab. After that, everyone pulling Alpaga will have your contrubtion !
- Release:
1.2
- Date:
Aug 26, 2025